Water leaks can wreak havoc on your ceiling, leaving unsightly stains and compromising the integrity of your home. Addressing ceiling damage effectively requires more than just a quick fix; it demands professional insights and techniques that ensure lasting results. In this article, we delve into expert advice on how to repair ceiling damage caused by leaks, covering everything from identifying the source of the leak to choosing the right materials for a durable finish. Whether you’re a homeowner tackling a DIY project or someone seeking to hire professionals, this guide will equip you with the knowledge necessary to restore your ceiling to its former glory and prevent future damage. Say goodbye to pervasive stains and hello to a healthier, more beautiful living space. Let’s explore the best practices for ceiling damage repair after leak that stand the test of time!
What is Ceiling Damage: Causes and Effects

Ceiling damage refers to any visible or structural deterioration that affects the surface or integrity of a ceiling, often resulting from water leaks, plumbing issues, or roof damage. To understand the nuances of water damage, learn about the difference between flood and water damage. The most common signs include brown or yellow stains, bubbling or peeling paint, sagging sections, and even cracks that may spread over time. While these may start as cosmetic concerns, they often signal deeper problems such as mold growth, weakened drywall, or compromised structural support. Left unaddressed, ceiling damage can quickly escalate, leading to costly repairs and potential health risks for your household.
Understanding the nature of ceiling damage is the first step toward effective repair. Not all damage is the same—some may be limited to surface-level staining, while others could indicate significant water infiltration or hidden mold. Recognizing these differences helps homeowners determine whether a simple patch job will suffice or if professional intervention is necessary. By accurately identifying the type and extent of ceiling damage, you’ll be better prepared to take the right steps in restoring both the function and appearance of your living space.
The Importance of Timely Repairs

Timely repairs are crucial when dealing with ceiling damage caused by leaks. Ignoring or delaying repairs can lead to a host of problems that can significantly impact the safety and value of your home. One of the primary concerns with delayed repairs is the potential for additional water damage. Once a leak has begun, it can spread to other areas of the ceiling and even to other parts of the home, resulting in more extensive and costly repairs.
Another important factor to consider is the risk of mold and mildew growth. Mold thrives in damp environments, and a water-damaged ceiling provides the perfect breeding ground. Not only does mold cause unsightly stains and odors, but it also poses serious health risks. For swift action, consult our top 10 flood cleanup tips to mitigate damage immediately. Exposure to mold spores can trigger allergies, asthma attacks, and other respiratory issues. By addressing ceiling damage promptly, you can prevent mold growth and protect the health of your household.
In addition to preventing further damage and health risks, timely repairs also contribute to maintaining the value of your home. Water stains and structural issues can be a red flag for potential buyers, potentially lowering the market value of your property. By taking immediate action to repair ceiling damage, you can preserve the aesthetic appeal and structural integrity of your home, ensuring it remains an asset rather than a liability.
Assessing the Extent of Ceiling Damage
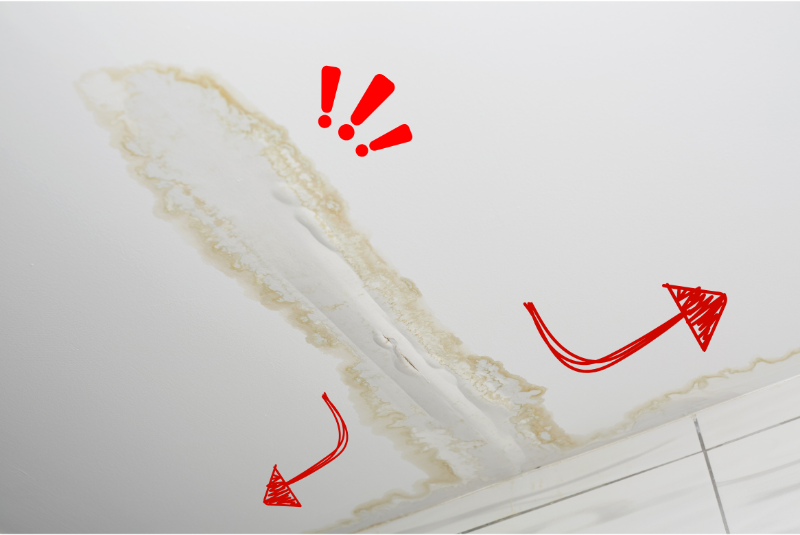
Before embarking on any repair project, it is essential to accurately assess the extent of the ceiling damage. This initial assessment will guide the repair process and help determine the necessary materials and tools. Begin by thoroughly inspecting the affected area, looking for visible signs of water damage such as stains, discoloration, and sagging. Pay close attention to the size and location of the damage, as this will influence the repair approach.
In some cases, the damage may be limited to surface stains and minor discoloration. These issues can often be addressed with a fresh coat of paint or a stain-blocking primer. However, more severe damage, such as sagging or crumbling ceiling material, may require more extensive repairs. It is important to determine whether the damage is confined to a specific area or if it has spread to other parts of the ceiling. This will help you decide whether a partial or full ceiling replacement is necessary.
Additionally, consider the underlying cause of the damage. If the leak is ongoing or if there are multiple sources of water intrusion, it is crucial to address these issues before proceeding with repairs. Understanding Virginia’s seasonal causes of home flooding can help pinpoint and prevent future incidents. Failure to fix the root cause of the leak will result in recurring damage and necessitate further repairs in the future. By taking the time to thoroughly assess the extent of the damage and identify the source of the leak, you can ensure that your repair efforts are effective and long-lasting.
Tools and Materials Needed for Repair
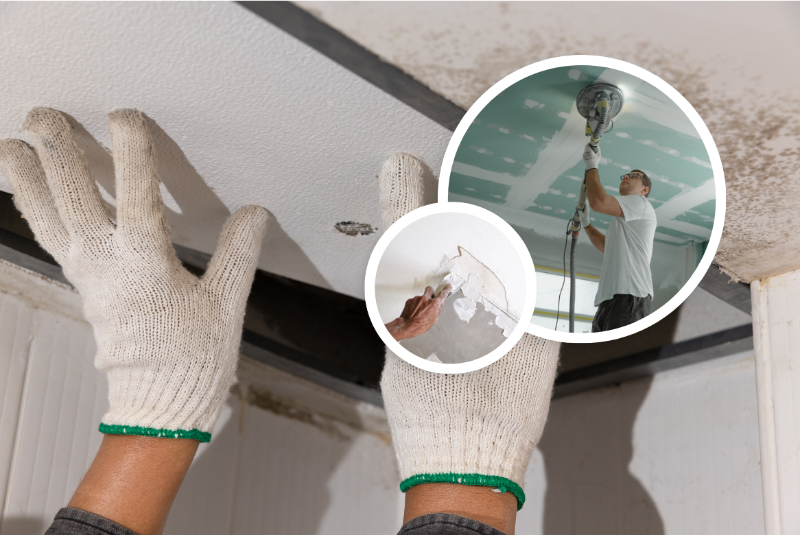
Having the right tools and materials on hand is essential for a successful ceiling repair project. The specific tools and materials required will depend on the extent of the damage and the type of ceiling material involved. For minor repairs, such as addressing stains and discoloration, you will need basic supplies such as a stain-blocking primer, paint, and paintbrushes or rollers.
For more extensive repairs, additional tools and materials will be necessary. These may include a utility knife or drywall saw for cutting away damaged ceiling material, a putty knife for applying joint compound, and sandpaper for smoothing the repaired area. If the damage is severe and requires replacing sections of the ceiling, you will also need drywall sheets, drywall tape, and joint compound. A ladder or scaffold may be necessary to reach higher areas of the ceiling safely.
In addition to the tools and materials needed for the actual repair, it is also important to have protective equipment on hand. This includes safety goggles, gloves, and a dust mask to protect yourself from debris and potential mold spores. By gathering all the necessary tools and materials before beginning the repair process, you can ensure that the project proceeds smoothly and efficiently, resulting in a professional-quality finish. This focus on quality extends to all areas of water damage, including tile and floor cleanup after water damage.
Step-by-Step Guide to Ceiling Damage Repair
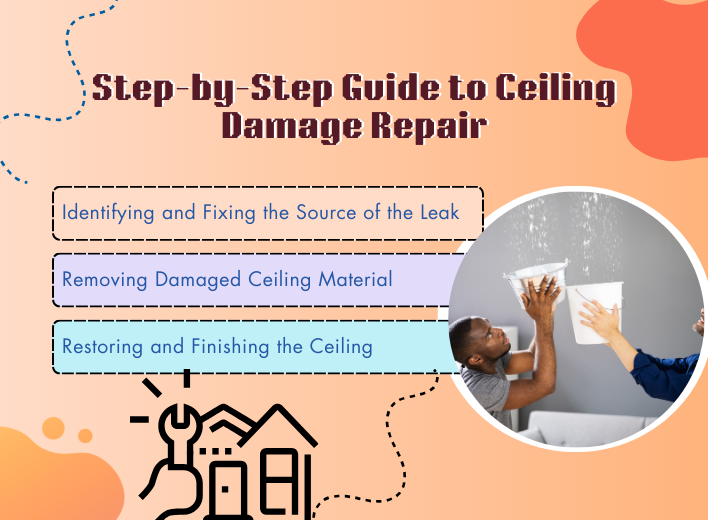
Repairing ceiling damage is not just about fixing visible stains—it’s about ensuring the root cause is fully addressed. For a comprehensive view of larger projects, understand what to expect during home restoration. With a careful, step-by-step approach, you can restore both the beauty and structural integrity of your ceiling for long-lasting protection.
1. Identifying and Fixing the Source of the Leak
The first and most important step in ceiling repair is addressing the root cause of water damage. Whether it’s a leaky roof, faulty plumbing, or HVAC condensation, fixing the source prevents recurring issues and protects your ceiling from future deterioration.
2. Removing Damaged Ceiling Material
After resolving the leak, carefully cut away any weakened or stained drywall. Clean, precise cuts ensure a smooth repair process and help prepare the area for replacement. For severe damage, larger sections of drywall may need complete removal and replacement.
3. Restoring and Finishing the Ceiling
Install new drywall panels, secure them with screws, and apply joint compound for a seamless look. Sand between layers until smooth, then finish with primer and matching paint. This final step ensures your ceiling not only looks flawless but stays protected.
Hiring a Professional vs. DIY Approach

When it comes to ceiling damage repair, homeowners are often faced with the decision of whether to tackle the project themselves or hire a professional. Both approaches have their advantages and disadvantages, and the best choice will depend on the extent of the damage, the homeowner’s skill level, and their comfort with DIY projects. For minor repairs, such as addressing stains and small areas of damage, a DIY approach can be cost-effective and relatively straightforward.
However, for more extensive damage, or if the homeowner is uncertain about their ability to complete the repair, hiring a professional may be the better option. Professional contractors have the experience and expertise to handle complex repairs, ensuring that the job is done correctly and to a high standard. They also have access to specialized tools and materials that may not be readily available to the average homeowner.
In addition to the quality of the repair, hiring a professional can also save time and reduce stress. Ceiling damage repair can be a time-consuming and labor-intensive process, particularly for those who are not experienced in home improvement projects. By hiring a professional, homeowners can ensure that the repair is completed efficiently and with minimal disruption to their daily lives. Ultimately, the decision to hire a professional or take a DIY approach will depend on the specific circumstances and the homeowner’s confidence in their ability to complete the repair successfully.
Preventing Future Leaks and Ceiling Damage

Preventing future leaks and ceiling damage is an essential part of maintaining the integrity of your home. Regular maintenance and proactive measures can help identify potential issues before they become major problems. One of the most effective ways to prevent leaks is to conduct routine inspections of your roof, plumbing, and HVAC systems. Look for signs of wear and tear, such as missing or damaged shingles, corroded pipes, and clogged drains.
In addition to regular inspections, consider implementing preventive measures to protect your home from water damage. This may include installing gutter guards to prevent debris from clogging your gutters, sealing gaps and cracks in your home’s exterior, and ensuring that your attic is properly ventilated to prevent condensation buildup. It is also important to address any issues promptly, as even small leaks can lead to significant damage over time.
Another key aspect of preventing future leaks and ceiling damage is proper insulation. Insulating your attic and walls can help regulate temperature and reduce the risk of condensation, which can lead to water damage. Additionally, consider installing a vapor barrier in your attic to further protect against moisture buildup. By taking these proactive steps, you can safeguard your home against future leaks and ensure that your ceiling remains in excellent condition.
Common Mistakes to Avoid During Repairs
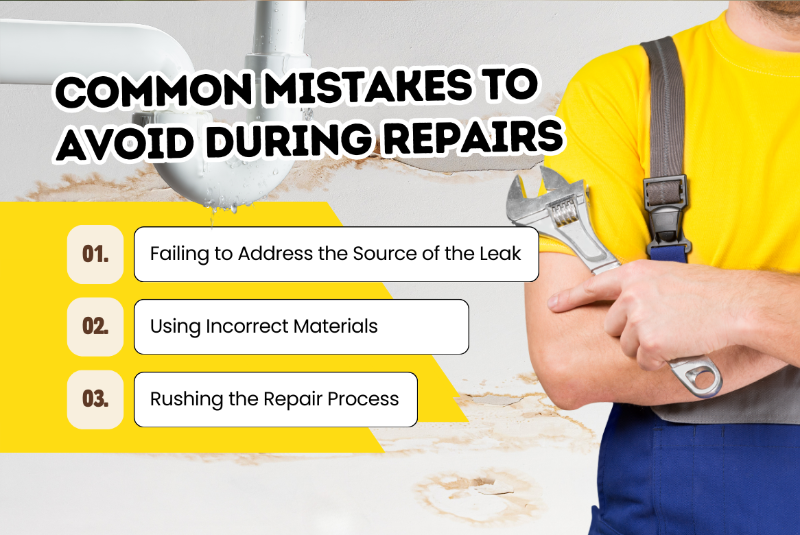
Repairing ceiling damage requires precision and attention to detail. Avoiding common mistakes ensures a long-lasting repair, prevents recurring issues, and protects the structural integrity of your home, saving time, money, and frustration in the long run.
Failing to Address the Source of the Leak
One of the most critical mistakes is repairing the ceiling without fixing the underlying cause of the leak. Whether it’s a roof issue, plumbing problem, or HVAC condensation, ignoring the source will lead to repeated water damage and additional repair costs.
Using Incorrect Materials
Choosing the wrong materials can compromise the quality of the repair. Using regular paint instead of a stain-blocking primer, or improper drywall and joint compounds, can result in stains reappearing or a weak, uneven finish that diminishes durability.
Rushing the Repair Process
Ceiling repairs require patience and proper technique. Skipping steps, applying joint compound too quickly, or insufficient sanding can result in visible imperfections. Allowing adequate drying time and carefully finishing each layer ensures a smooth, professional-looking repair.
Conclusion: Ensuring Long-lasting Results
Repairing ceiling damage caused by leaks requires a comprehensive approach that addresses the underlying cause of the damage and employs professional techniques for lasting results. By understanding the causes and effects of ceiling damage, gathering the necessary tools and materials, and following a systematic repair process, homeowners can restore their ceiling to its original condition and prevent future issues.
Whether choosing a DIY approach or hiring a professional, it is essential to prioritize quality and attention to detail. Timely repairs can prevent further damage, protect the health of your household, and maintain the value of your home. By taking proactive measures to prevent future leaks and avoiding common mistakes during the repair process, homeowners can ensure that their ceiling repair efforts are effective and long-lasting. For comprehensive water damage solutions and to begin your ceiling repair, visit our water damage service today.
In conclusion, addressing ceiling damage caused by leaks is a crucial aspect of home maintenance. With the right knowledge, tools, and techniques, homeowners can achieve a professional-quality repair that stands the test of time. By investing in timely and thorough repairs, you can enjoy a healthier, more beautiful living space and protect the integrity of your home for years to come.

